Easter Bunny Poke Cake
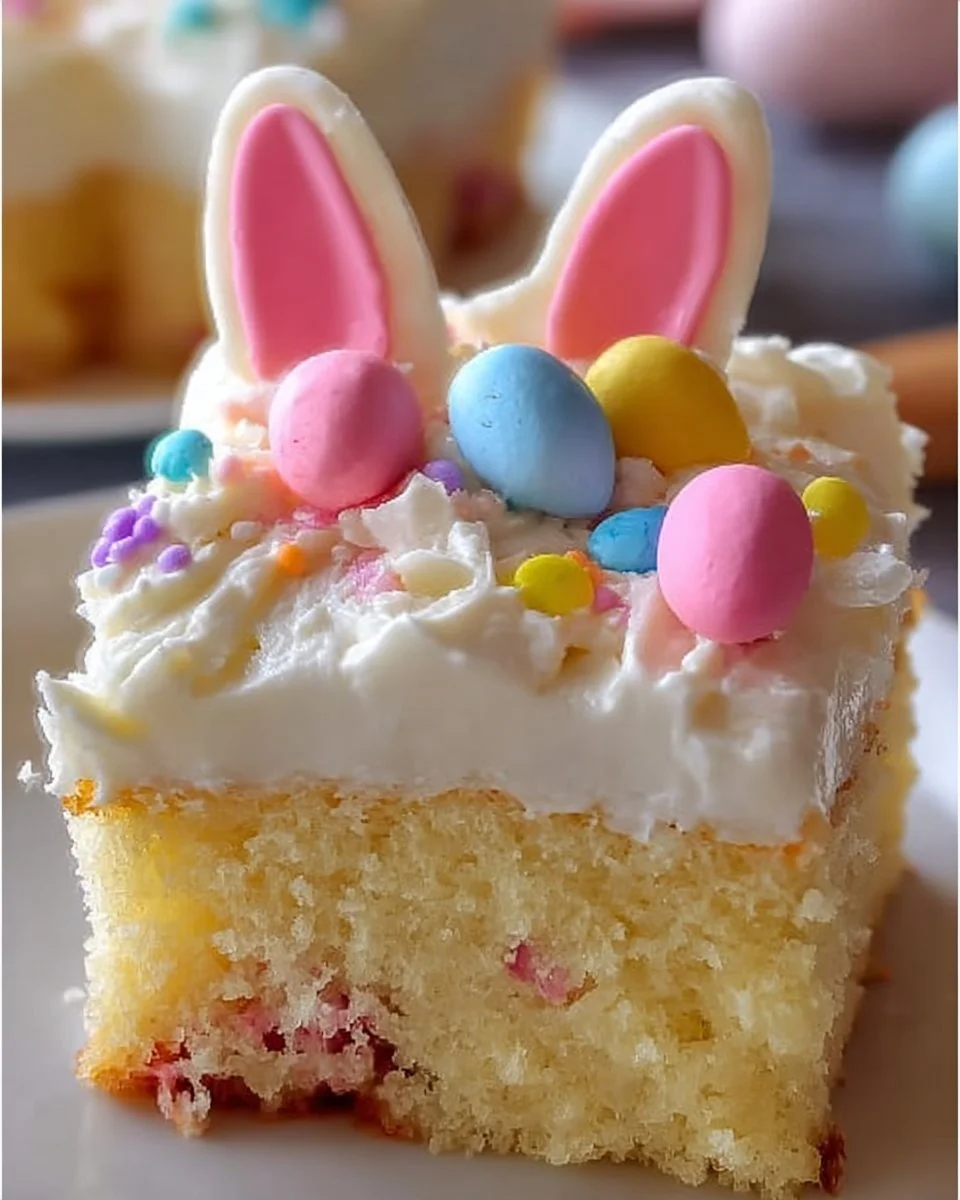
This Easter Bunny Poke Cake is a playful, creamy dessert that brings a springtime smile to any gathering. The cake is soft and tender from a white or yellow cake mix, and the vanilla pudding that fills the poke holes adds a cool, custardy bite that contrasts beautifully with the light whipped topping. The shredded coconut gives a delicate chew and visual texture, while pastel jelly beans or candy-coated chocolates add bursts of sweetness and color. The aroma while baking is warm and comforting, with vanilla notes that invite everyone to the table. This recipe is ideal for holiday brunches, school parties, potlucks, or anytime you want a simple but festive showstopper. If you enjoy bright, easy desserts, try pairing it with a lemon cake to die for for a colorful dessert spread.
Ingredients
- 1 box (18.25 oz) white or yellow cake mix, Choose your favorite brand and flavor for a classic base.
- 3 large eggs, Room temperature eggs give a slightly better rise.
- 1 cup water, Use cold or room temperature water as called for on the cake mix.
- 1/2 cup vegetable oil, Provides tenderness and moistness to the cake.
- 1 package (3.4 oz) instant vanilla pudding mix, Adds creamy flavor and fills the poke holes.
- 2 cups cold milk, Cold milk helps the instant pudding thicken properly.
- 1 container (8 oz) whipped topping, such as Cool Whip, thawed, Light and airy finishing layer that keeps the cake cool.
- Pastel-colored jelly beans or candy-coated chocolates, such as M&M’s, For decoration and colorful pops of sweetness.
- 1 cup shredded coconut, dyed pink or left white for bunny ears, Use sweetened or unsweetened coconut as you prefer, dye if you want pink ears.
- Optional: Candy eyes, licorice strips, or other decorations for bunny faces, Use to create playful bunny faces and details.
Step-by-step Instructions
- Preheat your oven to 350°F (175°C) and grease a 9×13-inch baking dish. Make sure the pan is well greased so the cake releases easily.
- In a large bowl, combine the cake mix, 3 large eggs, 1 cup water, and 1/2 cup vegetable oil. Mix until smooth. Use a hand mixer or whisk until no dry streaks remain.
- Pour the batter into the prepared dish and bake for 25-30 minutes, or until a toothpick comes out clean. Start checking at 25 minutes to avoid overbaking.
- Let the cake cool for 10 minutes, then poke holes evenly across the surface using a wooden spoon handle. Space the holes about 1 inch apart so the pudding can fill the cake evenly.
- In a separate bowl, whisk together the pudding mix and 2 cups cold milk until thickened, about 2 minutes. Whisk briskly so the pudding sets up properly.
- Pour the pudding over the poke holes in the cake, spreading it evenly. The pudding will sink into the holes and create creamy pockets.
- Refrigerate for 1 hour to set. Chilling helps the pudding fully absorb into the cake.
- Spread thawed whipped topping over the chilled cake. Smooth gently for an even layer that will hold your decorations.
- Decorate with pastel-colored jelly beans or M&M’s and shape shredded coconut into bunny ears if desired. Use candy eyes, licorice strips, or other decorations for bunny faces as optional accents.
- Chill for another 30 minutes before serving. This final chill firms the topping and makes cutting cleaner.
Recipe Details
- Prep Time: 15 minutes
- Cook Time: 25-30 minutes
- Total Time: About 2 hours 25 minutes, including chilling and cooling
- Servings: About 12 squares
- Calories: Approximately 360 kcal per serving
If you want more themed inspiration for party cakes, take a look at this creative blackberry velvet gothic cake for contrast.
Tips, Storage & Variations
- Tips
- Make the poke holes while the cake is still warm, about 10 minutes after baking, so the pudding can sink in more easily.
- Use cold milk when preparing the pudding to ensure proper thickening and texture.
- If decorating for kids, pre-arrange the candy decorations so each child gets a chance to help create a bunny face.
- Storage
- Store leftover cake covered in the refrigerator for up to 4 days. Keep it sealed to prevent the whipped topping from absorbing fridge odors.
- Freezing
- For longer storage, freeze individual slices wrapped tightly in plastic wrap and placed in a freezer bag for up to 2 months. Thaw in the refrigerator overnight before serving.
- Flavor variations using existing ingredients only
- Swap between white or yellow cake mix for a subtle flavor change.
- Use mostly jelly beans for a chewy candy accent, or use candy-coated chocolates for a crunchier bite.
- Leave the shredded coconut white for a classic look, or dye it pink to make whimsical bunny ears.
- For a banana-themed dessert table, serve alongside a banana split dump cake or a classic banana split dump cake for variety, without changing this recipe.
Frequently Asked Questions
Q: Can I use low-fat milk for the pudding?
A: Yes, low-fat milk will work, though the pudding may be slightly less rich.
Q: Do I have to chill the cake before adding the whipped topping?
A: Yes, chilling for 1 hour helps the pudding set and prevents the topping from sliding.
Q: Can I make this ahead of time?
A: Yes, make the cake and pudding layer the day before, add the topping and decorations the next day.
Q: Is there a gluten-free option?
A: Use a gluten-free cake mix labeled for 9×13 pans to adapt this recipe.
Q: How far in advance can I decorate?
A: Decorate after the final 30 minute chill; decorated cake keeps best if served within 1-2 days.
People Also Ask
Q: What is a poke cake?
A: A poke cake is a baked cake with holes poked into it and a filling poured over the top so the filling soaks into the cake.
Q: Can I use homemade pudding instead of instant?
A: You can, but instant pudding is used here to ensure quick thickening and a stable texture for poking.
Q: Will the cake get soggy from the pudding?
A: The cake becomes moist, not soggy, if you follow the chilling steps which let the pudding set.
Q: How do I dye coconut pink?
A: Toss shredded coconut with a few drops of pink food coloring until evenly colored.
Q: Can I make smaller individual poke cakes?
A: Yes, divide batter among smaller pans and adjust bake time. Keep the same pudding ratio.
Q: Are candy decorations necessary?
A: No, they are optional and add festive color and fun texture.
Q: What pan size is best for even baking?
A: A 9×13-inch baking dish gives the correct thickness and bake time for this recipe.
Q: Can I use light whipped topping?
A: Yes, light whipped topping can be used, though texture and sweetness may be slightly different.
Conclusion
This Easter Bunny Poke Cake is an easy, cheerful dessert that looks special but comes together quickly. It is a great project for family baking and a playful centerpiece for holiday dessert tables. For another take on an Easter poke cake, you might enjoy this bright version from Easter Poke Cake – Wishes and Dishes. If you prefer a chocolate-forward inspiration, see this creative idea at Easter Poke Cake – OMG Chocolate Desserts. Please try the recipe, share your decorated bunnies, and enjoy a cozy, colorful spring dessert.
PrintEaster Bunny Poke Cake

A playful, creamy dessert perfect for spring gatherings, featuring a soft cake filled with vanilla pudding and topped with whipped cream, coconut, and colorful candies.
- Prep Time: 15 minutes
- Cook Time: 30 minutes
- Total Time: 145 minutes
- Yield: 12 servings 1x
- Category: Dessert
- Method: Baking
- Cuisine: American
- Diet: Vegetarian
Ingredients
- 1 box (18.25 oz) white or yellow cake mix
- 3 large eggs
- 1 cup cold water
- 1/2 cup vegetable oil
- 1 package (3.4 oz) instant vanilla pudding mix
- 2 cups cold milk
- 1 container (8 oz) whipped topping, thawed
- Pastel-colored jelly beans or candy-coated chocolates
- 1 cup shredded coconut, dyed pink or left white
- Optional: Candy eyes, licorice strips, or other decorations for bunny faces
Instructions
- Preheat your oven to 350°F (175°C) and grease a 9×13-inch baking dish.
- Combine the cake mix, 3 large eggs, 1 cup water, and 1/2 cup vegetable oil in a large bowl. Mix until smooth.
- Pour the batter into the prepared dish and bake for 25-30 minutes, or until a toothpick comes out clean.
- Let the cake cool for 10 minutes, then poke holes evenly across the surface.
- Whisk together the pudding mix and 2 cups cold milk until thickened.
- Pour the pudding over the poke holes in the cake, spreading it evenly.
- Refrigerate for 1 hour to set.
- Spread thawed whipped topping over the chilled cake.
- Decorate with pastel-colored jelly beans or M&M’s and shape shredded coconut into bunny ears.
- Chill for another 30 minutes before serving.
Notes
Make the poke holes while the cake is warm for better pudding absorption. Store leftovers in the refrigerator for up to 4 days.
Nutrition
- Serving Size: 1 square
- Calories: 360
- Sugar: 20g
- Sodium: 400mg
- Fat: 12g
- Saturated Fat: 4g
- Unsaturated Fat: 6g
- Trans Fat: 0g
- Carbohydrates: 54g
- Fiber: 1g
- Protein: 5g
- Cholesterol: 30mg
Keywords: Easter cake, poke cake, festive desserts, bunny cake, spring recipes