Peanut Butter Blossoms: A Timeless Treat
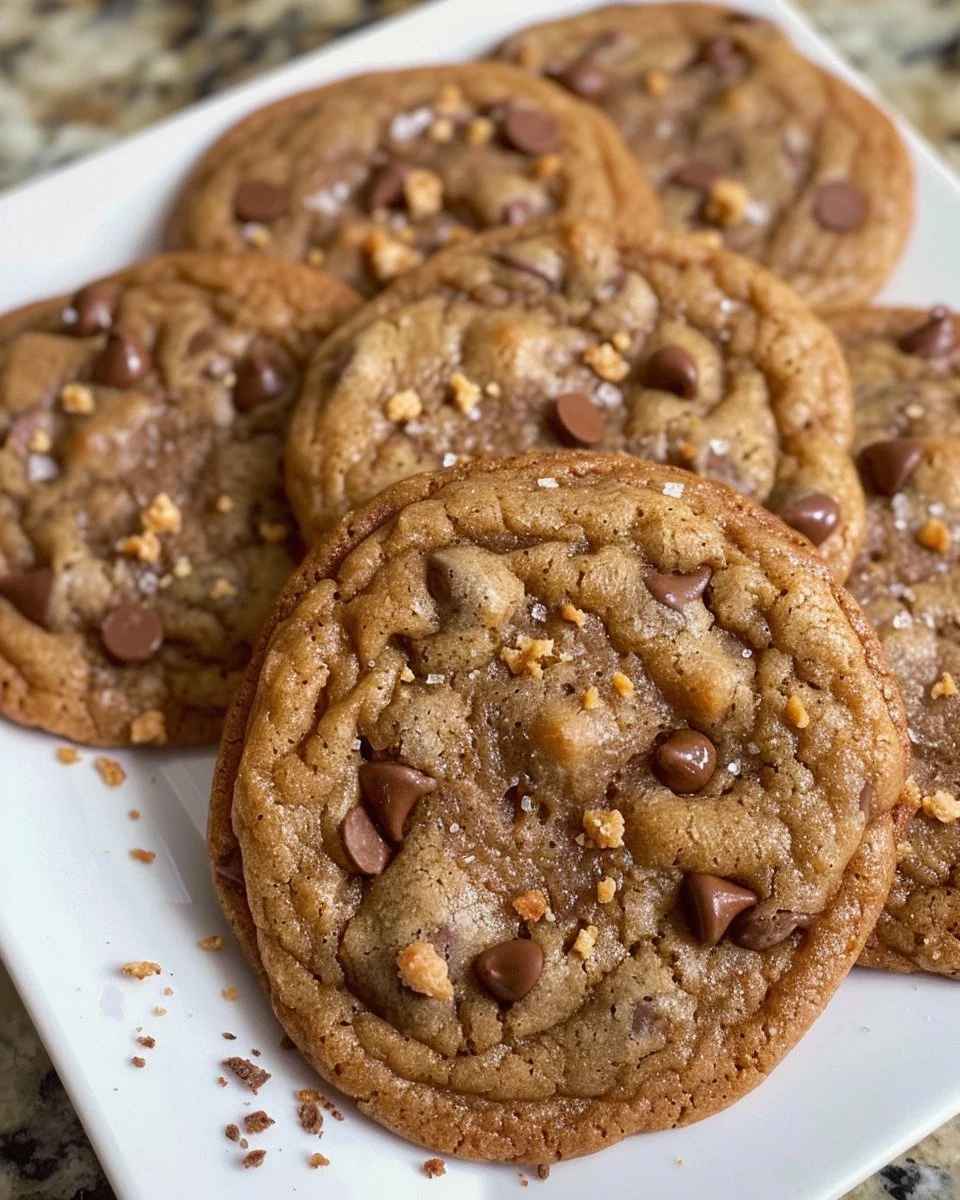
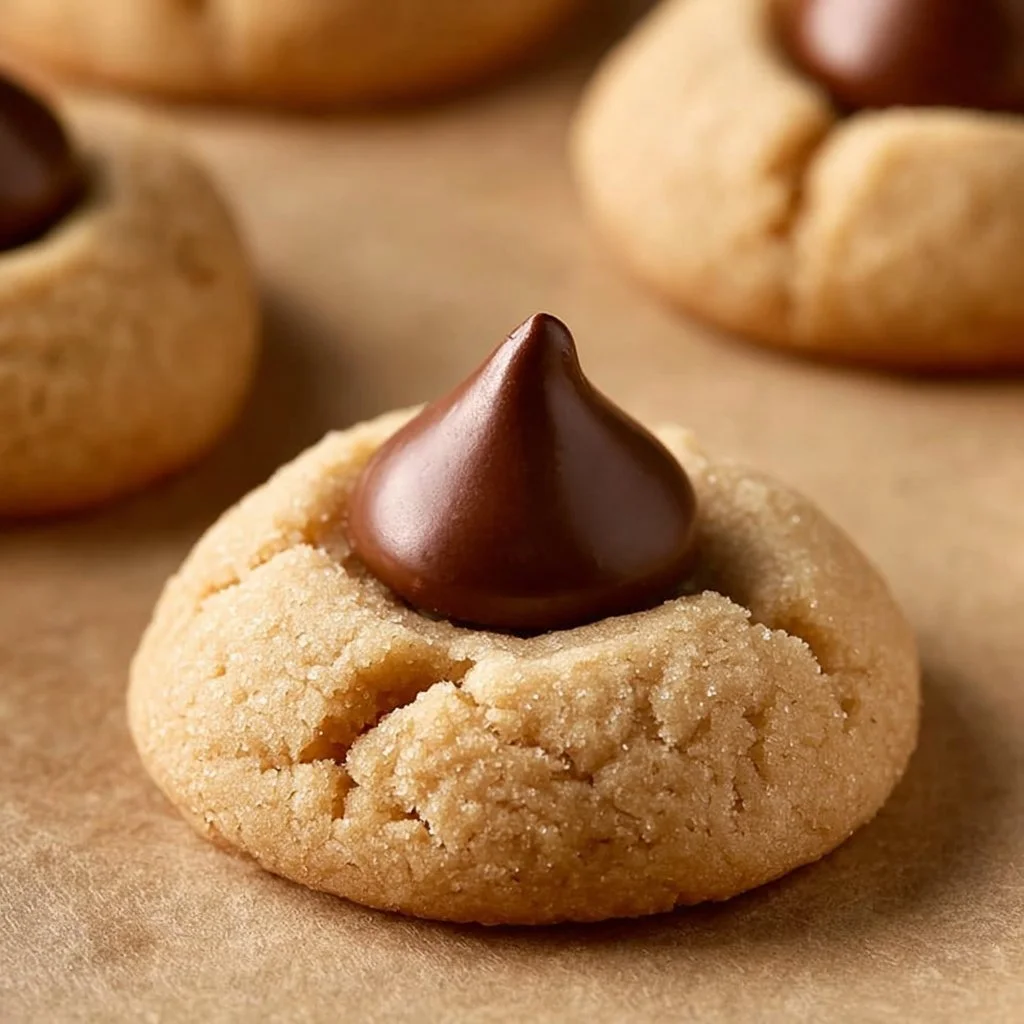
Imagine walking into your kitchen, the aroma of warm peanut butter cookies wafting through the air, mingling with the sweet scent of melted chocolate. These delicious little morsels, known as Peanut Butter Blossoms, are not only easy to make but also a nostalgic favorite that captures the hearts of both young and old. With their golden, soft texture and the delightful crunch of a Hershey’s Kiss nestled on top, each bite is a heavenly combination of nutty and sweet flavors that dance together in perfect harmony. Perfect for weeknight baking or festive gatherings, these cookies bring warmth and joy to any occasion. So, why not roll up your sleeves and get started on this delightful recipe?
Understanding Peanut Butter Blossoms
Peanut Butter Blossoms have a rich history that dates back to the 1930s when peanut butter first gained popularity in American households. The concept of combining a soft peanut butter cookie with a chocolate candy—often a Hershey’s Kiss—was a stroke of genius. Over the years, these cookies have become a staple at holiday parties and family gatherings, bringing everyone together over their delectable taste. Their impressive appearance, with each one adorned by a chocolate crown, makes them as visually appealing as they are delicious.
These treats are best served warm, right out of the oven, with the gooey chocolate melting slightly on top. Their softness is complemented by a slightly crisp edge, offering a satisfying texture with every bite. While conventional baking is the norm for these cookies, variations using air fryers have become popular as they yield even fluffier textures in less time. Each method ensures that the beloved flavors of peanut butter and chocolate are preserved while providing a convenient baking experience.
Why You’ll Love Peanut Butter Blossoms
There are countless reasons why Peanut Butter Blossoms deserve a spot in your recipe repertoire.
- Ease of Preparation: These cookies can be mixed and baked in less than an hour, making them an ideal choice for busy weeknights or sudden cravings.
- Flavor Complexity: The marriage of creamy peanut butter and rich chocolate creates a flavor combination that satisfies both sweet and savory cravings.
- Family-Friendly: Kids and adults alike adore the combination of textures and flavors, making these cookies a hit at any gathering.
- Budget-Friendly: Most ingredients are pantry staples, meaning you can whip these up without breaking the bank. Plus, they allow for ingredient flexibility, letting you adjust based on what’s available.
Your Guide to Making Peanut Butter Blossoms at Home
To prepare Peanut Butter Blossoms, the process is straightforward and perfect for cookie novices. You’ll need a reliable baking sheet, measuring cups, and mixing bowls. The whole process, from prep to oven, takes about 30-40 minutes, allowing for quick gratification of your sweet tooth.
Ingredients
- 1 cup creamy peanut butter: This is the star of the show, providing the rich, nutty flavor and soft texture.
- 1 cup granulated sugar: This sweetens the cookies and contributes to the chewy texture.
- 1 cup brown sugar: Adds moisture and a slight caramel note that deepens flavor.
- 1 egg: Acts as a binder, helping to keep the cookies together.
- 2 cups all-purpose flour: Provides structure, giving the cookies their iconic shape.
- 1 teaspoon baking soda: Helps the cookies rise and gives them a lighter texture.
- 1 teaspoon vanilla extract: Enhances the overall flavor profile.
- Hershey’s Kisses: The signature topping that adds a delightful chocolate touch.
Directions
Preheat the Oven: Preheat your oven to 350°F (175°C) and line your baking sheets with parchment paper to prevent sticking.
Mix the Wet Ingredients: In a large mixing bowl, combine the peanut butter, granulated sugar, brown sugar, egg, and vanilla extract. Beat them together until creamy, ensuring there are no lumps.
Combine Dry Ingredients: In a separate bowl, whisk together the flour and baking soda. Gradually add this mixture to the wet ingredients, mixing until just combined—be careful not to overmix!
Shape the Cookies: Using a tablespoon, scoop the dough and roll it into balls. Place them on the prepared baking sheets, spacing them about 2 inches apart.
Bake the Cookies: Place the baking sheets in the preheated oven and bake for 8-10 minutes, until the edges are golden. You’ll know they’re ready when they puff up slightly.
Add the Kisses: Remove the cookies from the oven and immediately press a Hershey’s Kiss into the center of each cookie. Let them sit on the baking sheet for about 5 minutes to allow the chocolate to soften.
Cool and Enjoy: Carefully transfer the cookies to a wire rack to cool completely. Enjoy your warm, chocolatey Peanut Butter Blossoms with a glass of milk for the perfect treat!
Delicious Pairings for Peanut Butter Blossoms
When it comes to serving Peanut Butter Blossoms, the options are endless. They shine best on a dessert platter alongside a variety of treats, creating an inviting spread for guests. Pair them with a tall glass of cold milk, which beautifully complements the creaminess of the peanut butter and the richness of the chocolate.
- Hot Cocoa: The warmth of hot chocolate harmonizes with the cookies, perfect for chilly evenings.
- Vanilla Ice Cream: For a delightful dessert twist, serve the cookies alongside or in a scoop of creamy vanilla ice cream.
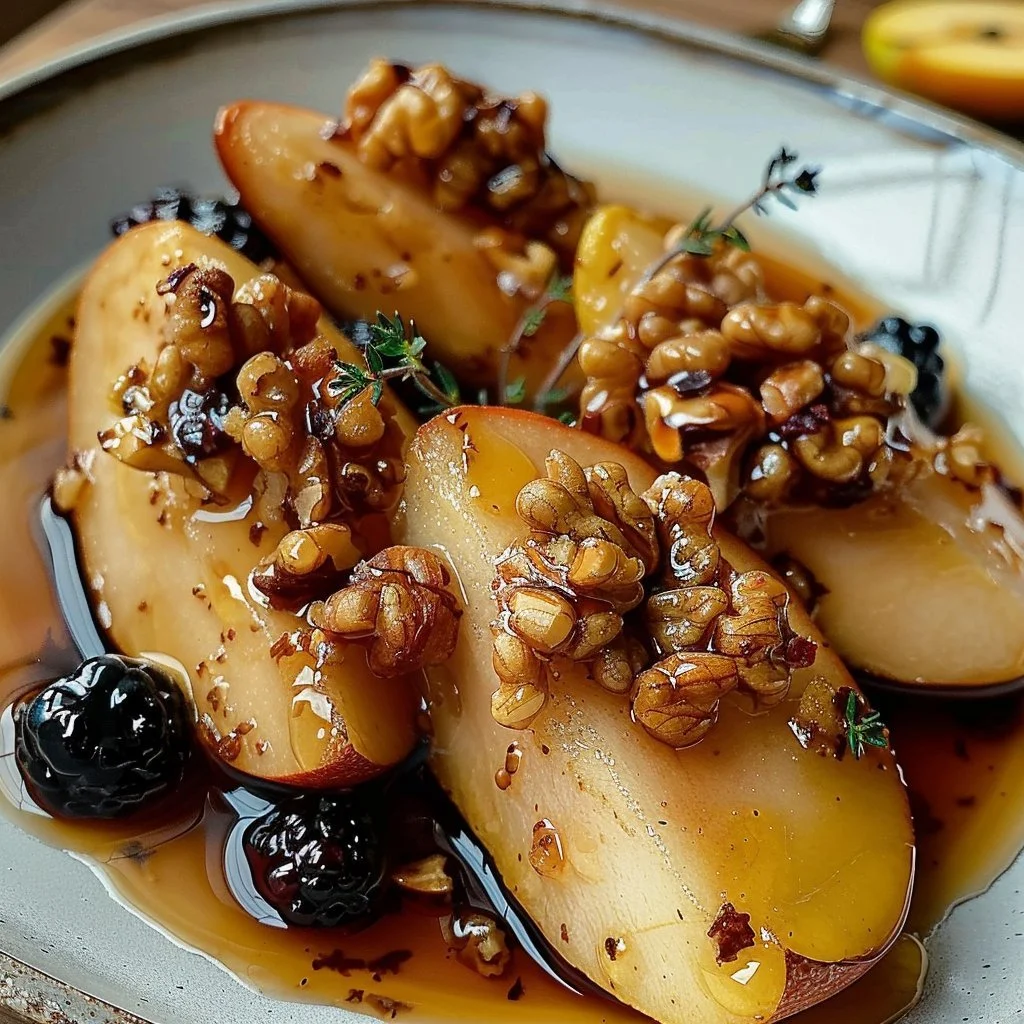
- Fresh Strawberries: The tartness of fresh strawberries adds a refreshing contrast to the sweetness of the cookies.
Top Tips for Perfecting Peanut Butter Blossoms
Mastering Peanut Butter Blossoms comes down to technique, and here are some tips to ensure your cookies turn out perfectly.
- Use Room Temperature Ingredients: Ensure your peanut butter, egg, and butter are at room temperature for easier mixing and a smoother texture.
- Optimize Your Baking Time: Every oven is different; start checking the cookies at 8 minutes to avoid overbaking. They should be slightly soft in the center.
- Store in an Airtight Container: Keep baked cookies in an airtight container at room temperature for the best freshness.
- Double the Batch: Peanut Butter Blossoms are so loved that making a double batch is always a good idea, especially for gatherings or bake sales.
Variations & Add-Ins
For a twist on the classic Peanut Butter Blossom, consider these fun variations:
- Chocolate Peanut Butter Blossoms: Substitute half the peanut butter with chocolate hazelnut spread for added richness.
- Nut-Free Version: Use sunflower seed butter instead of peanut butter for a nut-free alternative that still delivers a satisfying taste.
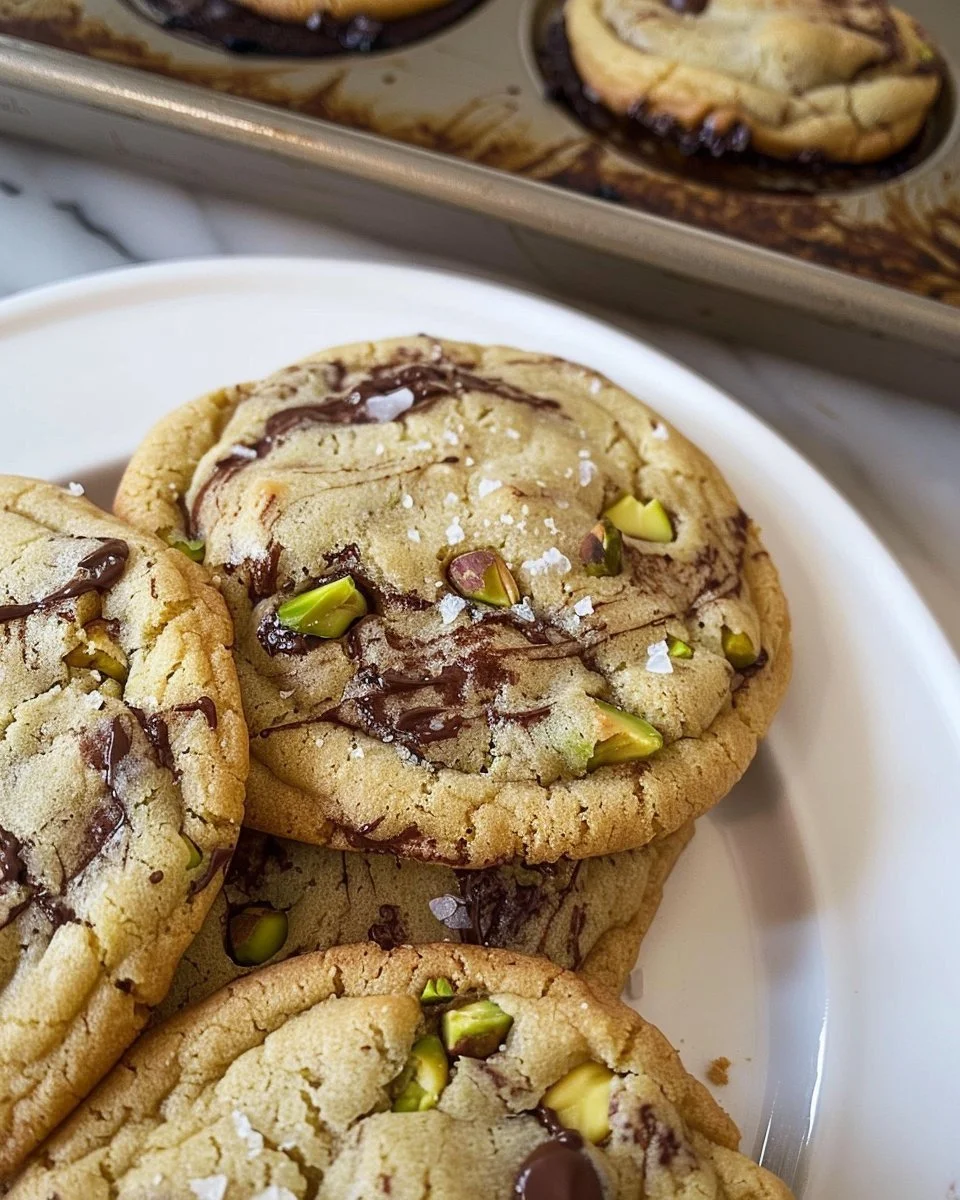
- Add-ins: Fold in mini chocolate chips or chopped peanuts for extra texture and flavor pops.
Kid-Friendly Version
To make Peanut Butter Blossoms more appealing to kids, consider using fun cookie cutters to shape the cookies before baking. Let children help by rolling the cookie balls and pressing the chocolate kisses on top—this interactive approach makes baking a delightful family activity! You can also drizzle melted chocolate on top for an extra sweet touch that appeals to younger taste buds.
Storing and Reheating Tips
Storing your Peanut Butter Blossoms properly is key to maintaining their deliciousness. Place them in an airtight container at room temperature, where they can last for up to one week. For longer shelf life, consider refrigerating them, but be aware that this may slightly alter their texture.
When it comes to reheating, the oven is your best bet to restore that freshly baked taste. Preheat it to 300°F (150°C), and warm the cookies for about 5-7 minutes. Alternatively, you can pop them in the microwave for 10-15 seconds for a quick fix, just make sure not to overdo it to prevent them from becoming tough.
FAQs
Can I make the dough ahead of time?
Yes! You can prepare the dough and refrigerate it for up to 3 days before baking. Just allow it to sit at room temperature for about 15 minutes before rolling and baking.Can I freeze Peanut Butter Blossoms?
Absolutely! After baking, let the cookies cool completely, then store them in an airtight container or freezer bag. They can last in the freezer for up to 3 months.Can I substitute the sugar?
You can try using coconut sugar or a sugar substitute suitable for baking, but keep in mind the texture may vary slightly.
Conclusion
Peanut Butter Blossoms have earned their place as a beloved classic, embodying simplicity, flavor, and warmth. Each bite offers a delightful combination of textures and flavors that are sure to please everyone. Whether served at a gathering or enjoyed as a personal treat, these cookies are bound to create lasting memories in your kitchen. Try it tonight and let me know how it turned out!
PrintPeanut Butter Blossoms

Delicious peanut butter cookies topped with a chocolate kiss, perfect for any occasion.
- Prep Time: 15 minutes
- Cook Time: 10 minutes
- Total Time: 25 minutes
- Yield: 24 servings 1x
- Category: Dessert
- Method: Baking
- Cuisine: American
- Diet: Vegetarian
Ingredients
- 1 cup creamy peanut butter
- 1 cup granulated sugar
- 1 cup brown sugar
- 1 egg
- 2 cups all-purpose flour
- 1 teaspoon baking soda
- 1 teaspoon vanilla extract
- Hershey’s Kisses
Instructions
- Preheat your oven to 350°F (175°C) and line your baking sheets with parchment paper.
- In a large mixing bowl, combine the peanut butter, granulated sugar, brown sugar, egg, and vanilla extract. Beat until creamy.
- In a separate bowl, whisk together the flour and baking soda. Gradually add to the wet ingredients, mixing until just combined.
- Scoop the dough and roll it into balls. Place them on the prepared baking sheets, spacing them about 2 inches apart.
- Bake for 8-10 minutes until the edges are golden.
- Remove the cookies and press a Hershey’s Kiss into the center of each cookie. Let sit for 5 minutes.
- Transfer the cookies to a wire rack to cool completely. Enjoy!
Notes
Store in an airtight container for up to one week. You can freeze them for up to 3 months.
Nutrition
- Serving Size: 1 cookie
- Calories: 130
- Sugar: 10g
- Sodium: 150mg
- Fat: 6g
- Saturated Fat: 1g
- Unsaturated Fat: 4g
- Trans Fat: 0g
- Carbohydrates: 18g
- Fiber: 1g
- Protein: 3g
- Cholesterol: 15mg
Keywords: cookies, peanut butter, chocolate, dessert, holiday baking