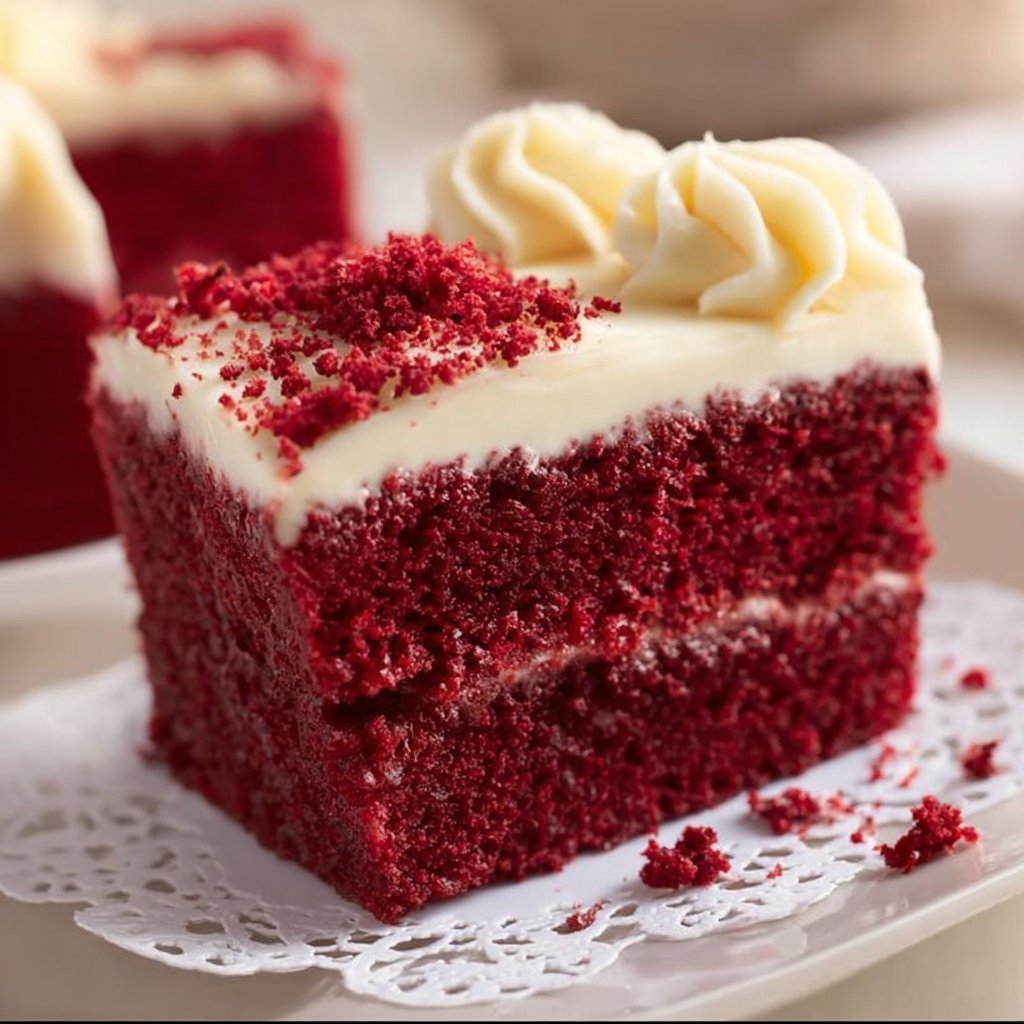
Classic Red Velvet Cake Recipe
A Classic Red Velvet Cake is the epitome of indulgence, perfectly blending the realms of sweet and tangy flavors with a vibrant ruby red hue. This iconic cake is known for its soft, moist texture and subtle chocolate notes, thanks to a hint of cocoa powder. It’s often complemented with a rich cream cheese frosting that adds a luscious creaminess, enhancing every bite. Whether you are celebrating a birthday, a special occasion, or simply satisfying your sweet tooth, this cake never fails to impress. The delightful aroma of vanilla and freshly baked cake will fill your kitchen, inviting everyone to gather around for a slice of happiness. Now, let’s get started on creating this stunning dessert that’s sure to be a showstopper!
Ingredients
- 2 1/2 cups cake flour: This helps create a tender and fluffy texture.
- 1 tbsp cocoa powder: Just a touch gives a subtle chocolate flavor that complements the red hue.
- 1/2 cup unsalted butter, softened: Adds richness and moisture to the cake.
- 1 cup vegetable oil: Ensures the cake remains moist and tender.
- 1 cup buttermilk, room temperature: This ingredient adds tanginess and helps activate the baking soda for leavening.
- 1 1/2 cups sugar: Sweetens the cake and balances the flavors.
- 2 large eggs: They provide structure and stability to the cake.
- 2 tbsp red food coloring: Gives the cake its signature red coloration.
- 1 tsp vanilla extract: Enhances the overall flavor profile.
- 8 oz cream cheese, softened: Creates a rich and creamy frosting.
- 4 cups powdered sugar: Sweetens the frosting and gives it a smooth texture.
Step-by-Step Instructions
- Preheat your oven to 350°F (175°C) and grease two 9-inch round cake pans to prevent sticking.
- In a bowl, sift together the cake flour and cocoa powder to ensure there are no lumps and everything is evenly mixed.
- In a separate bowl, cream the softened butter, vegetable oil, and sugar together until the mixture is light and fluffy.
- Add the eggs one at a time to the butter mixture, mixing well after each addition to ensure they are fully incorporated.
- Stir in the buttermilk, red food coloring, and vanilla extract until the mixture is smooth and well blended.
- Gradually add the dry ingredients to the wet mixture, mixing until just combined. Be careful not to overmix.
- Divide the batter evenly between the prepared pans, smoothing the tops for an even bake.
- Bake in the preheated oven for 25-30 minutes or until a toothpick inserted in the center comes out clean.
- Allow the cakes to cool in the pans for 10 minutes before transferring them to a wire rack to cool completely.
- For the frosting, beat together the softened cream cheese and powdered sugar until smooth and creamy. Frost between the layers and around the sides of the cooled cake.
Recipe Details
- Prep Time: 30 minutes
- Cook Time: 30 minutes
- Total Time: 1 hour
- Servings: 12 slices
- Calories: Approximately 450 per slice
Tips, Storage & Variations
- Tips: Make sure your butter and cream cheese are softened at room temperature for easy mixing. For best results, use quality cocoa powder and food coloring for vibrant color.
- Storage: Store any leftover cake in an airtight container in the refrigerator for up to 5 days. To keep it from drying out, cover the exposed parts tightly.
- Freezing: The cake layers can be wrapped in plastic wrap and frozen for up to 3 months. Thaw in the refrigerator before frosting.
- Variations: For a different flavor profile, try using almond extract instead of vanilla or add a pinch of cinnamon or nutmeg to the batter.
FAQ
1. Can I use regular milk instead of buttermilk?
Yes, buttermilk adds a unique tanginess. If you don’t have any, mix 1 cup of milk with 1 tablespoon of lemon juice or vinegar and let it sit for 5 minutes.
2. How do I get the best red color?
Use gel food coloring for a more vibrant hue. Liquid food coloring may require more but can alter the texture.
3. Can I make this cake ahead of time?
Absolutely! Bake the layers a day or two in advance. Just store them tightly wrapped until you’re ready to frost.
4. Is there a gluten-free option for this recipe?
Yes, you can substitute the cake flour with a gluten-free all-purpose flour blend.
5. How should I decorate the cake?
Feel free to add sprinkles, edible glitter, or fresh fruits to make it visually stunning.
6. What can I use instead of cream cheese frosting?
You can use a classic buttercream frosting or a whipped cream frosting if you prefer a lighter option.
People Also Ask
1. What is red velvet cake?
Red velvet cake is a layered dessert known for its deep red color, soft texture, and creamy frosting.
2. Why does red velvet cake taste like chocolate?
The cocoa powder used in the recipe contributes a subtle chocolate flavor, enhancing its taste.
3. How long do I bake a red velvet cake?
Standard baking time for this cake is about 25-30 minutes at 350°F (175°C).
4. Can I make cupcakes with this recipe?
Yes, simply pour the batter into cupcake liners and bake for 15-20 minutes.
5. How do you prevent red food coloring from staining?
Wear gloves while working with it, and clean surfaces immediately to avoid staining.
6. What occasions are best for red velvet cake?
This cake is perfect for birthdays, anniversaries, and holidays like Valentine’s Day.
7. Can I add nuts to my cake?
Yes, chopped pecans or walnuts can be added for a delightful crunch along with the cake.
8. What is the history behind red velvet cake?
Red velvet cake has a rich history dating back to the Victorian era, gaining popularity in the United States during the 20th century.
In conclusion, making a Classic Red Velvet Cake is a rewarding experience that promises delicious results. With its stunning appearance and rich flavors, it’s sure to become a favorite at any gathering. Give this recipe a try and share your beautiful creation with friends and family. Happy baking!